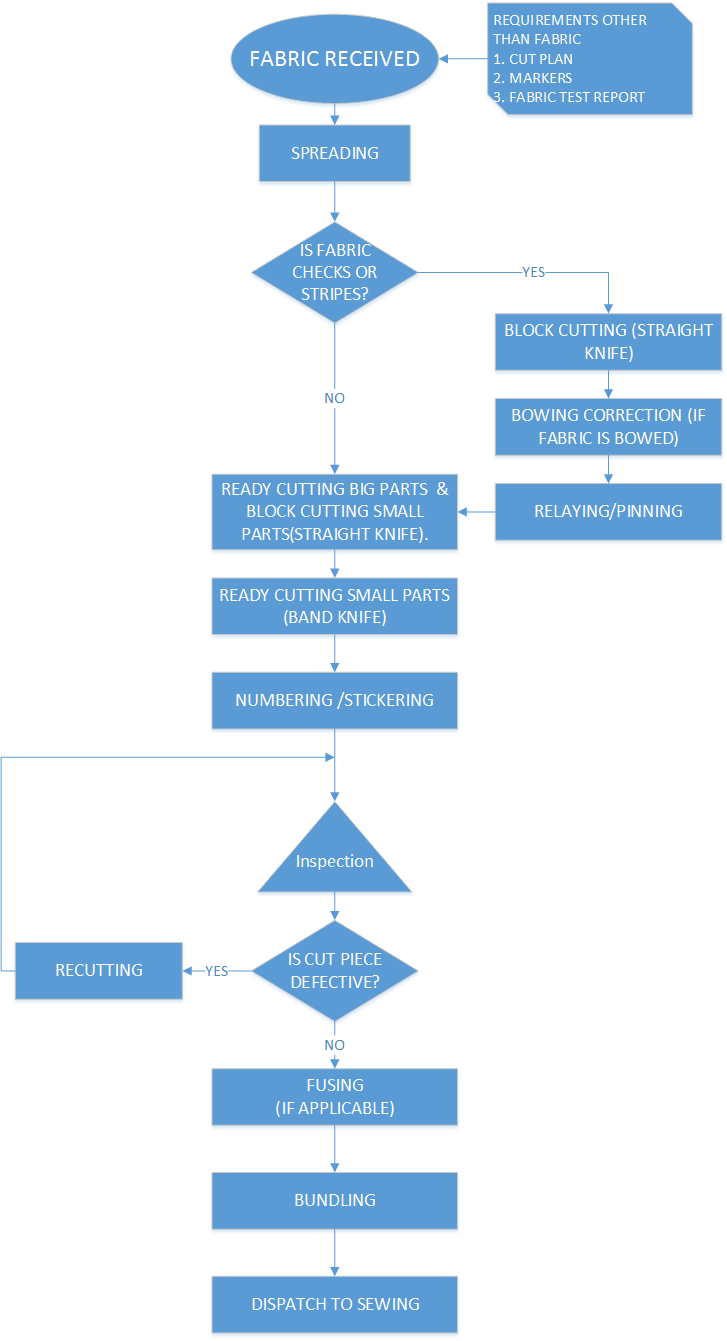
Cutting process in garment industry can be tricky and many people are perplexed on how this magical feat of matching every check/stripe is achieved by the factories. Here is the step by step, brief explanation on cutting process in garment industry and the cutting process flowchart at the end of the article.
1. Spreading or laying
To cut many garments simultaneously, fabric is spread in layers one over the on a long table. This process in called spreading or laying.
Plies – Fabric is spread in layers one above the other and every layer is called a ply. Number of plies that can be laid is decided based on the height of the knife, thickness of fabric and type of cutting method being followed.
Lay– End product of spreading/ laying is a lay which is nothing but desired number of plies laid.
Spreading can be done by manual as well as automated spreaders.
Note: while spreading checks and stripes fabric, every line of a ply will not overlap exactly over each other hence if garments are cut directly line matching will not be achieved in every garment. Pinning table is used as solution to this problem. If pinning table is not used then panels are cut as a block as explained below.

2. Block cutting (only for garments requiring matching /mitring where pinning table is not used)
Block cutting is only done for garments which requires matching like checks, stripes and some prints. In this process instead of cutting directly on the patterns a block is cut with buffers around the pattern, which allows for matching the lines wherever required.
Relaying: Once a block is cut individual cut blocks are relayed superimposing the checks/stripes one over the above. The method of relaying can vary based on the matching required. Blocks can be relayed with pinning or without pinning. Objective of relaying is to superimpose checks/stripes exactly over each other for every ply. This is done manually.
Note: If fabric is bowed, before relaying, bowing correction is done by stretching the fabric in both bias directions.
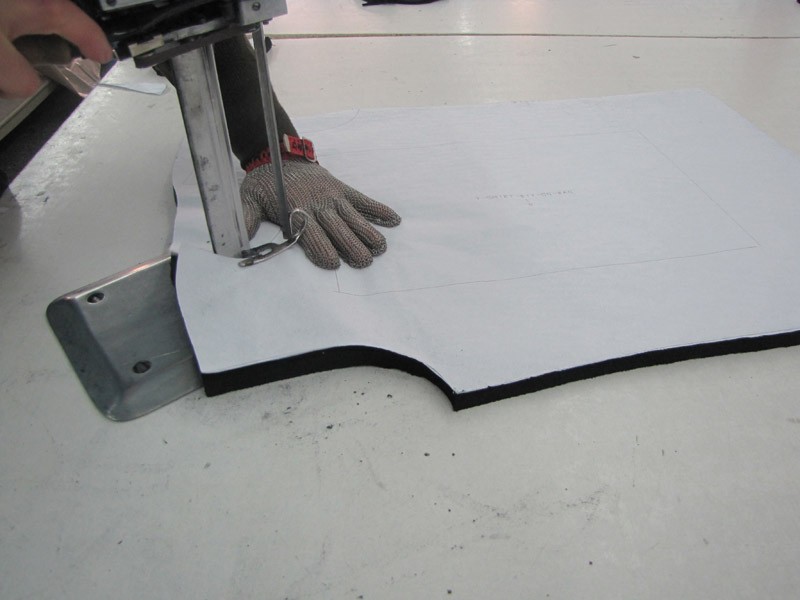
3. Ready cutting –
Cutting the fabric as per the shape of the pattern is called ready cutting. End product of ready cutting are the final cut parts which will be used for sewing. Ready cutting is done by different knives as per suitability, type of knives can be Straight knife, Band knife and Round knife.
4. Number sealing / Stickering – cut parts are stickered or inked with numbers to identify each piece and to make sure that every garment is made in same shade and same shrinkage.
5. Panel inspection:
Cut parts are inspected by weaving defects. If defects are found the panel is replaced by recutting a panel of same shade and same shrinkage
6. Fusing ( if applicable)
If the garment contains fusible interlining the cut panels with fusible interlining are passed through fusing machine which is set on a defined temperature to give the output as fused panel.
Fusing is critical to quality hence special care is taken to ensure that fused interlining does not produce defects in later stages of product life cycle. Sometimes to ensure the correct placement of interlining spot fusing is done before sending the assembly through the fusing machine.
7. Bundling –After the pieces are cut, individual pieces are bundled together to be sent for stitching. In this process numbers are matched and bundles are made to be sent for stitching
8. Dispatch to sewing
Regards for all your efforts that you have put in this. very interesting info .
I m cutting master experience 35 years
I need contract of cutting depart, contact 03213236849
please i need your help in garment industery
Very good sequence.
https://www.advancetextile.net/